
This posting is a departure from my normal financial and retirement planning articles.
Simple A/C repairs can cost you a lot of money. Just recently my A/C Company quoted me $175 to replace each capacitator, I have two units, I bought them for $20/ea. on Amazon and installed them in less than 20 minutes with simple tools. I did both units for a savings of $310. Last year I replaced my A/C power contacts for an even larger cost savings.
My house has two separate central A/C units, upstairs and downstairs. These units are about 10 years old and seem to be running OK. However, there are some common replacement items that can improve the life of your units. These replacement items are easy to install, even for the novice DIYer.
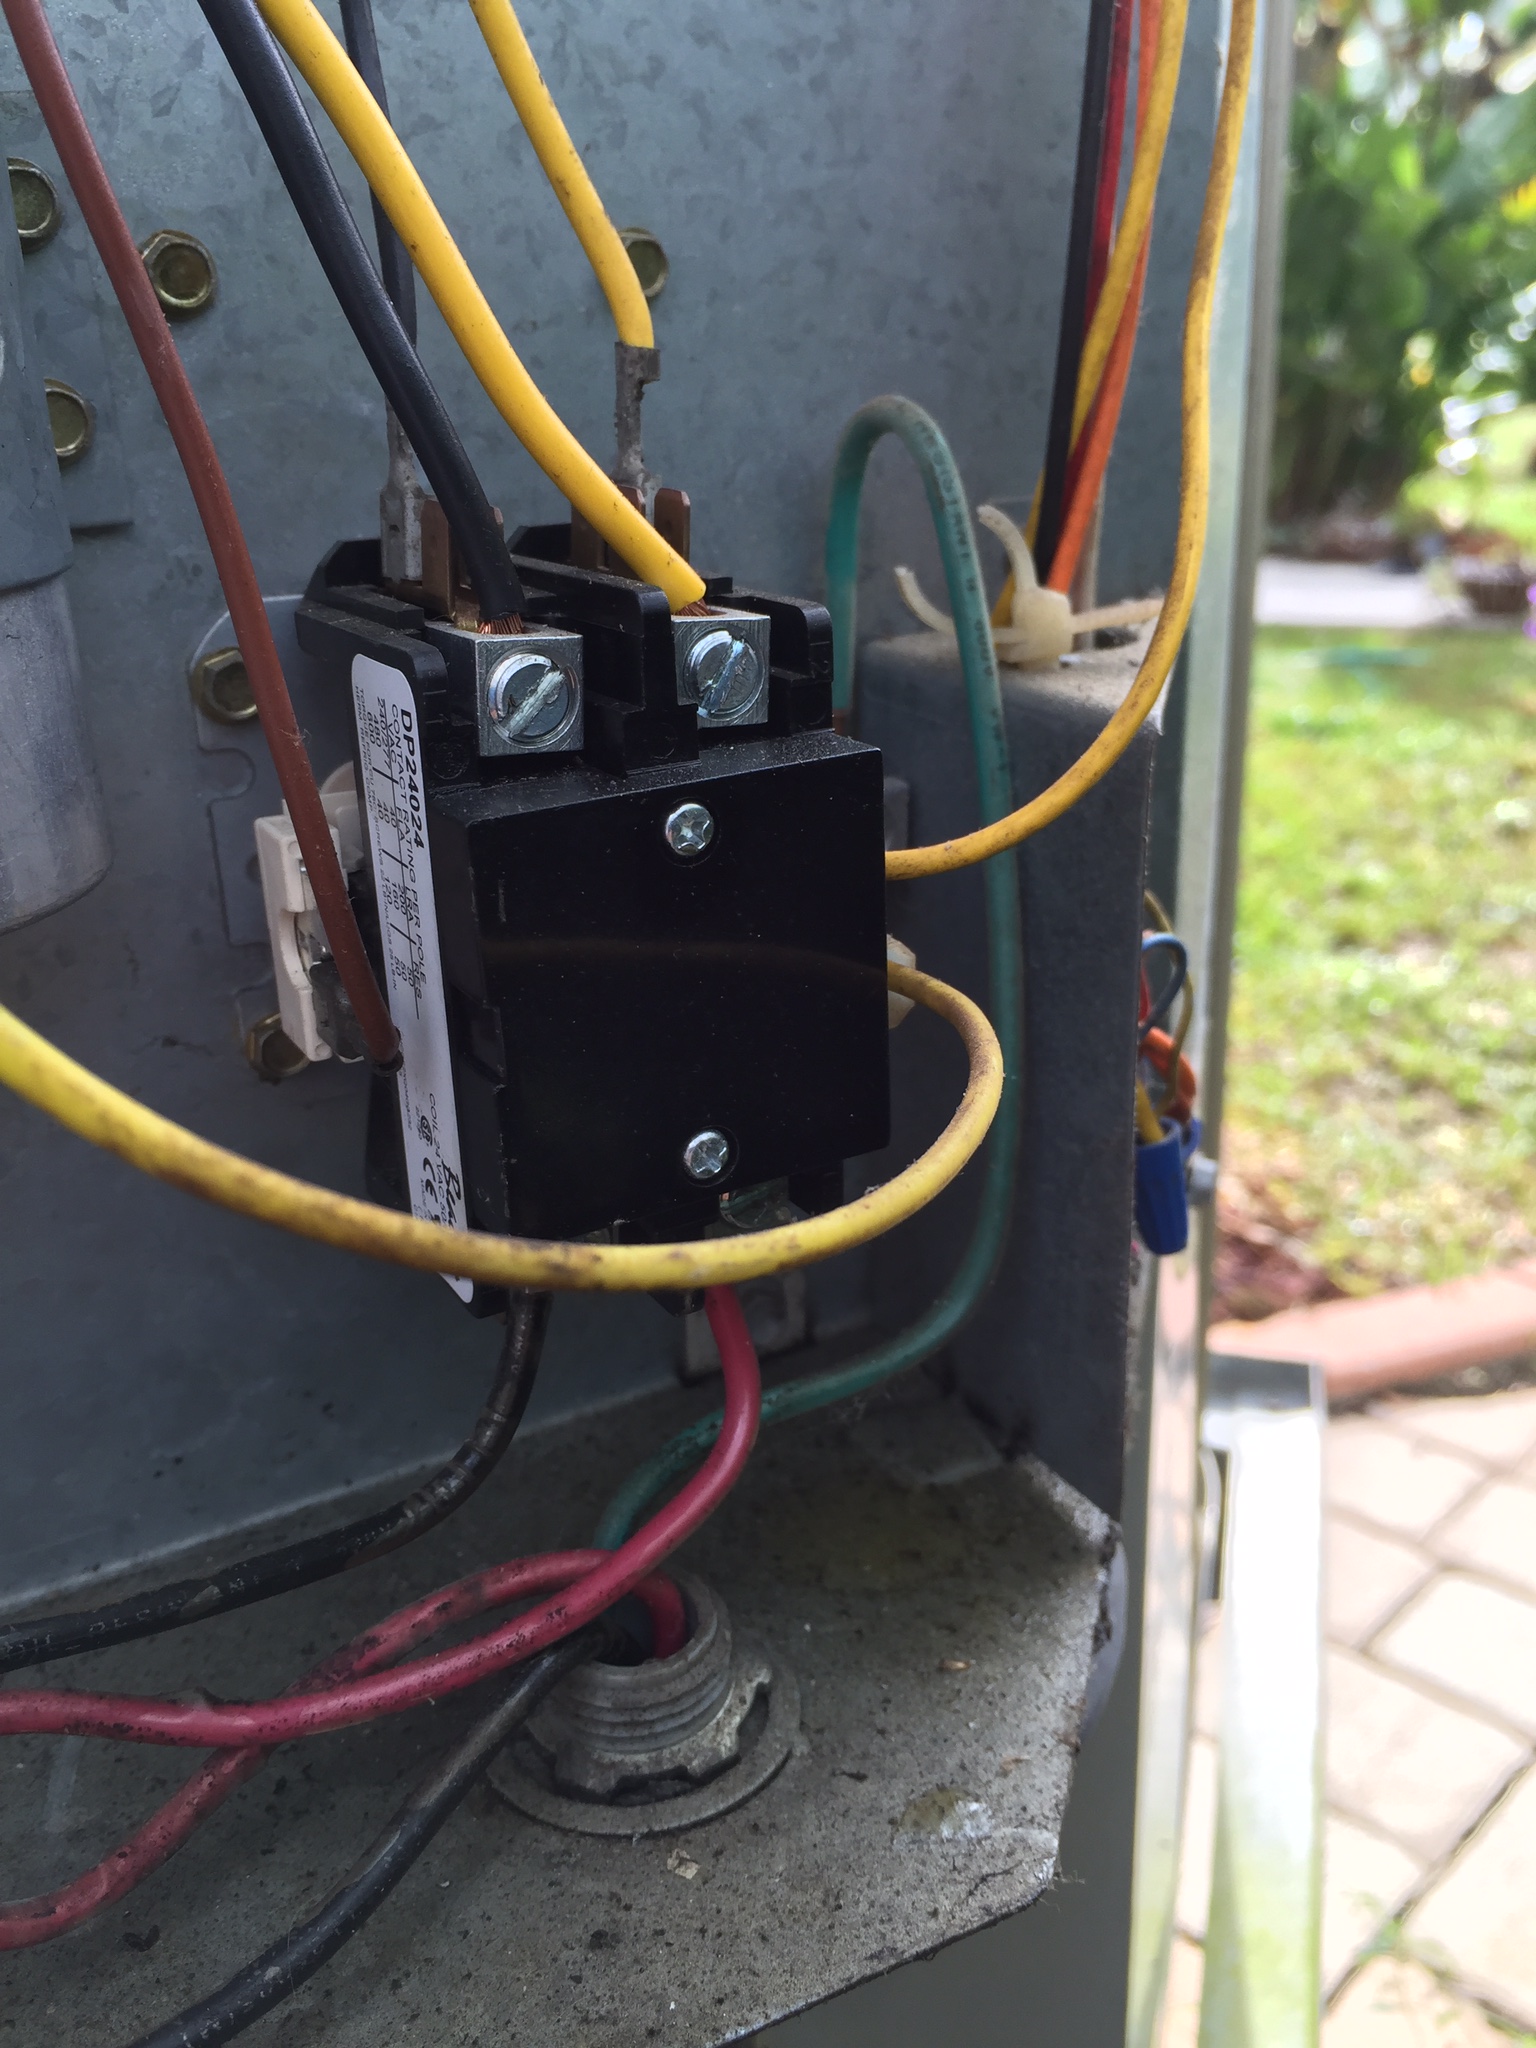
Last year I replace the main power contactors, these turn on/off the main power to the compressor and the cooling fan. My units both had 24 volt coil, 2 pole, single-throw contactors with specs that allowed me to shop for equivalent parts, I found Beacon Components brand, but could have used other brands. These contacts open and close every time the A/C unit cycles on and the actual contact tips will burn-off over time. This is probably the #1 electrical maintenance item on an exterior A/C unit. Here is the contactors I replaced last year.
Today I replaced my two capacitors. Probably the 2nd most replaced item. What does the capacitor do in you’re A/C unit? A capacitor is like a storage battery, it charges and stores electricity, then when prompted it quickly discharges with a lot of power. This power is used to start an electric motor spinning so that the normal windings in the motor can take over and keep it turning. The same thing happens with a compressor. If you ever hear you’re A/C unit “humming” but the fan isn’t moving, or if your air is on but not blowing cool air, you may have a bad capacitor, or bad contactors. Over time capacitors, like contactors will deteriorate and need to be replaced. You will probably find that your A/C unit has a dual capacitor, to start-up both the fan and the compressor.
Here is how to replace the capacitor.
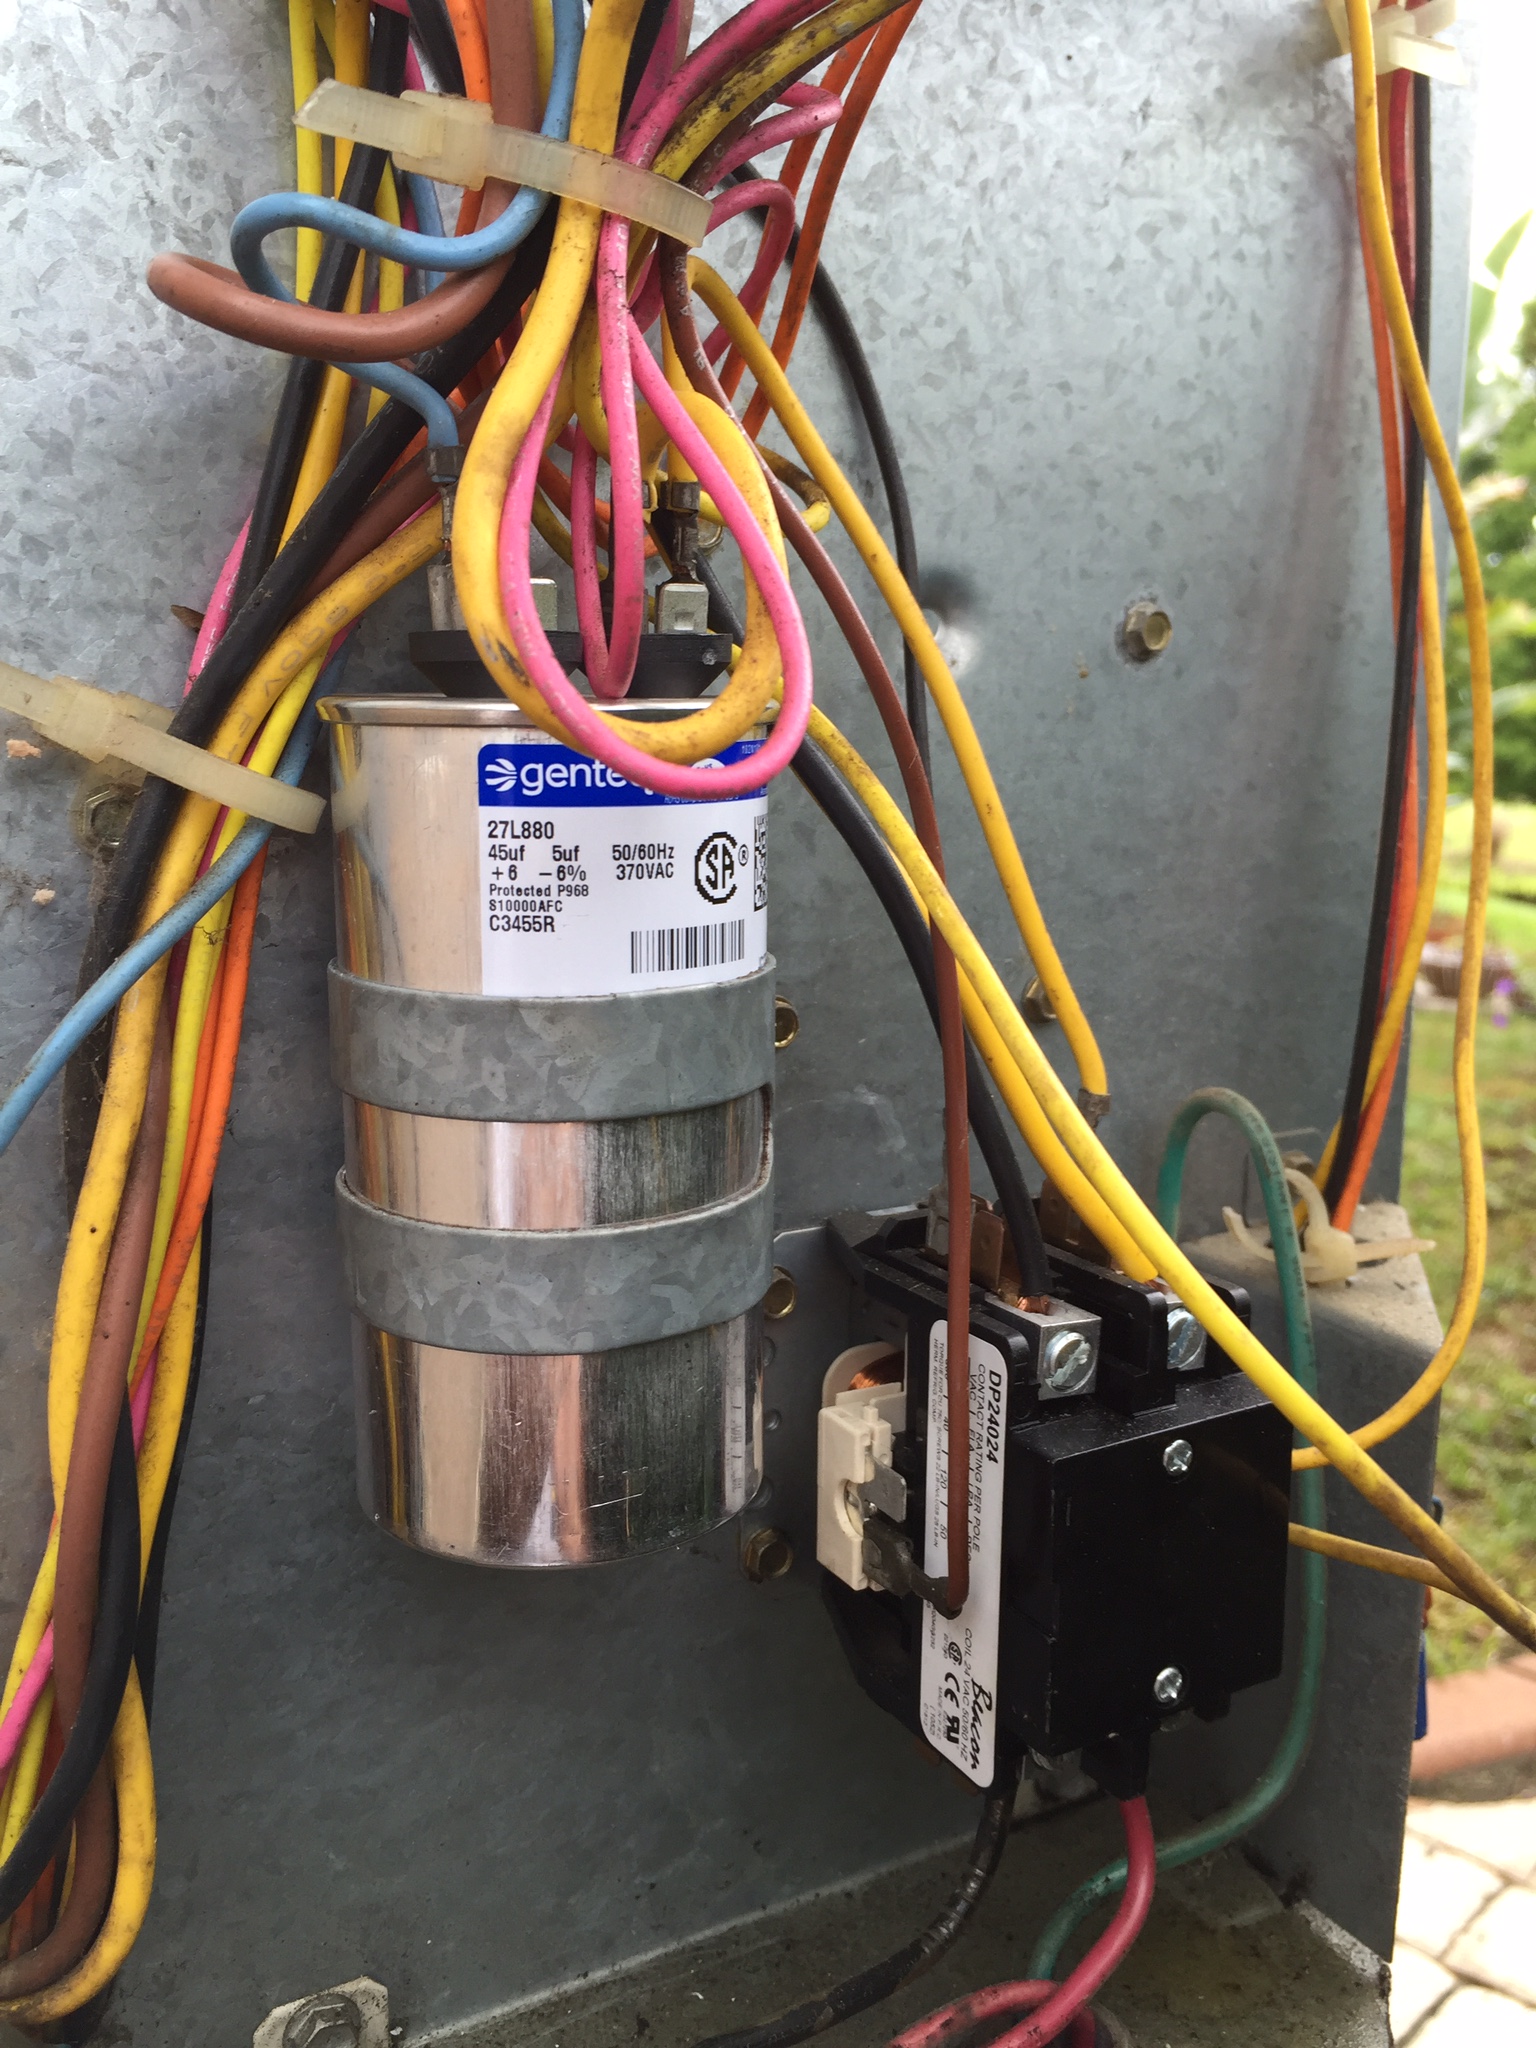
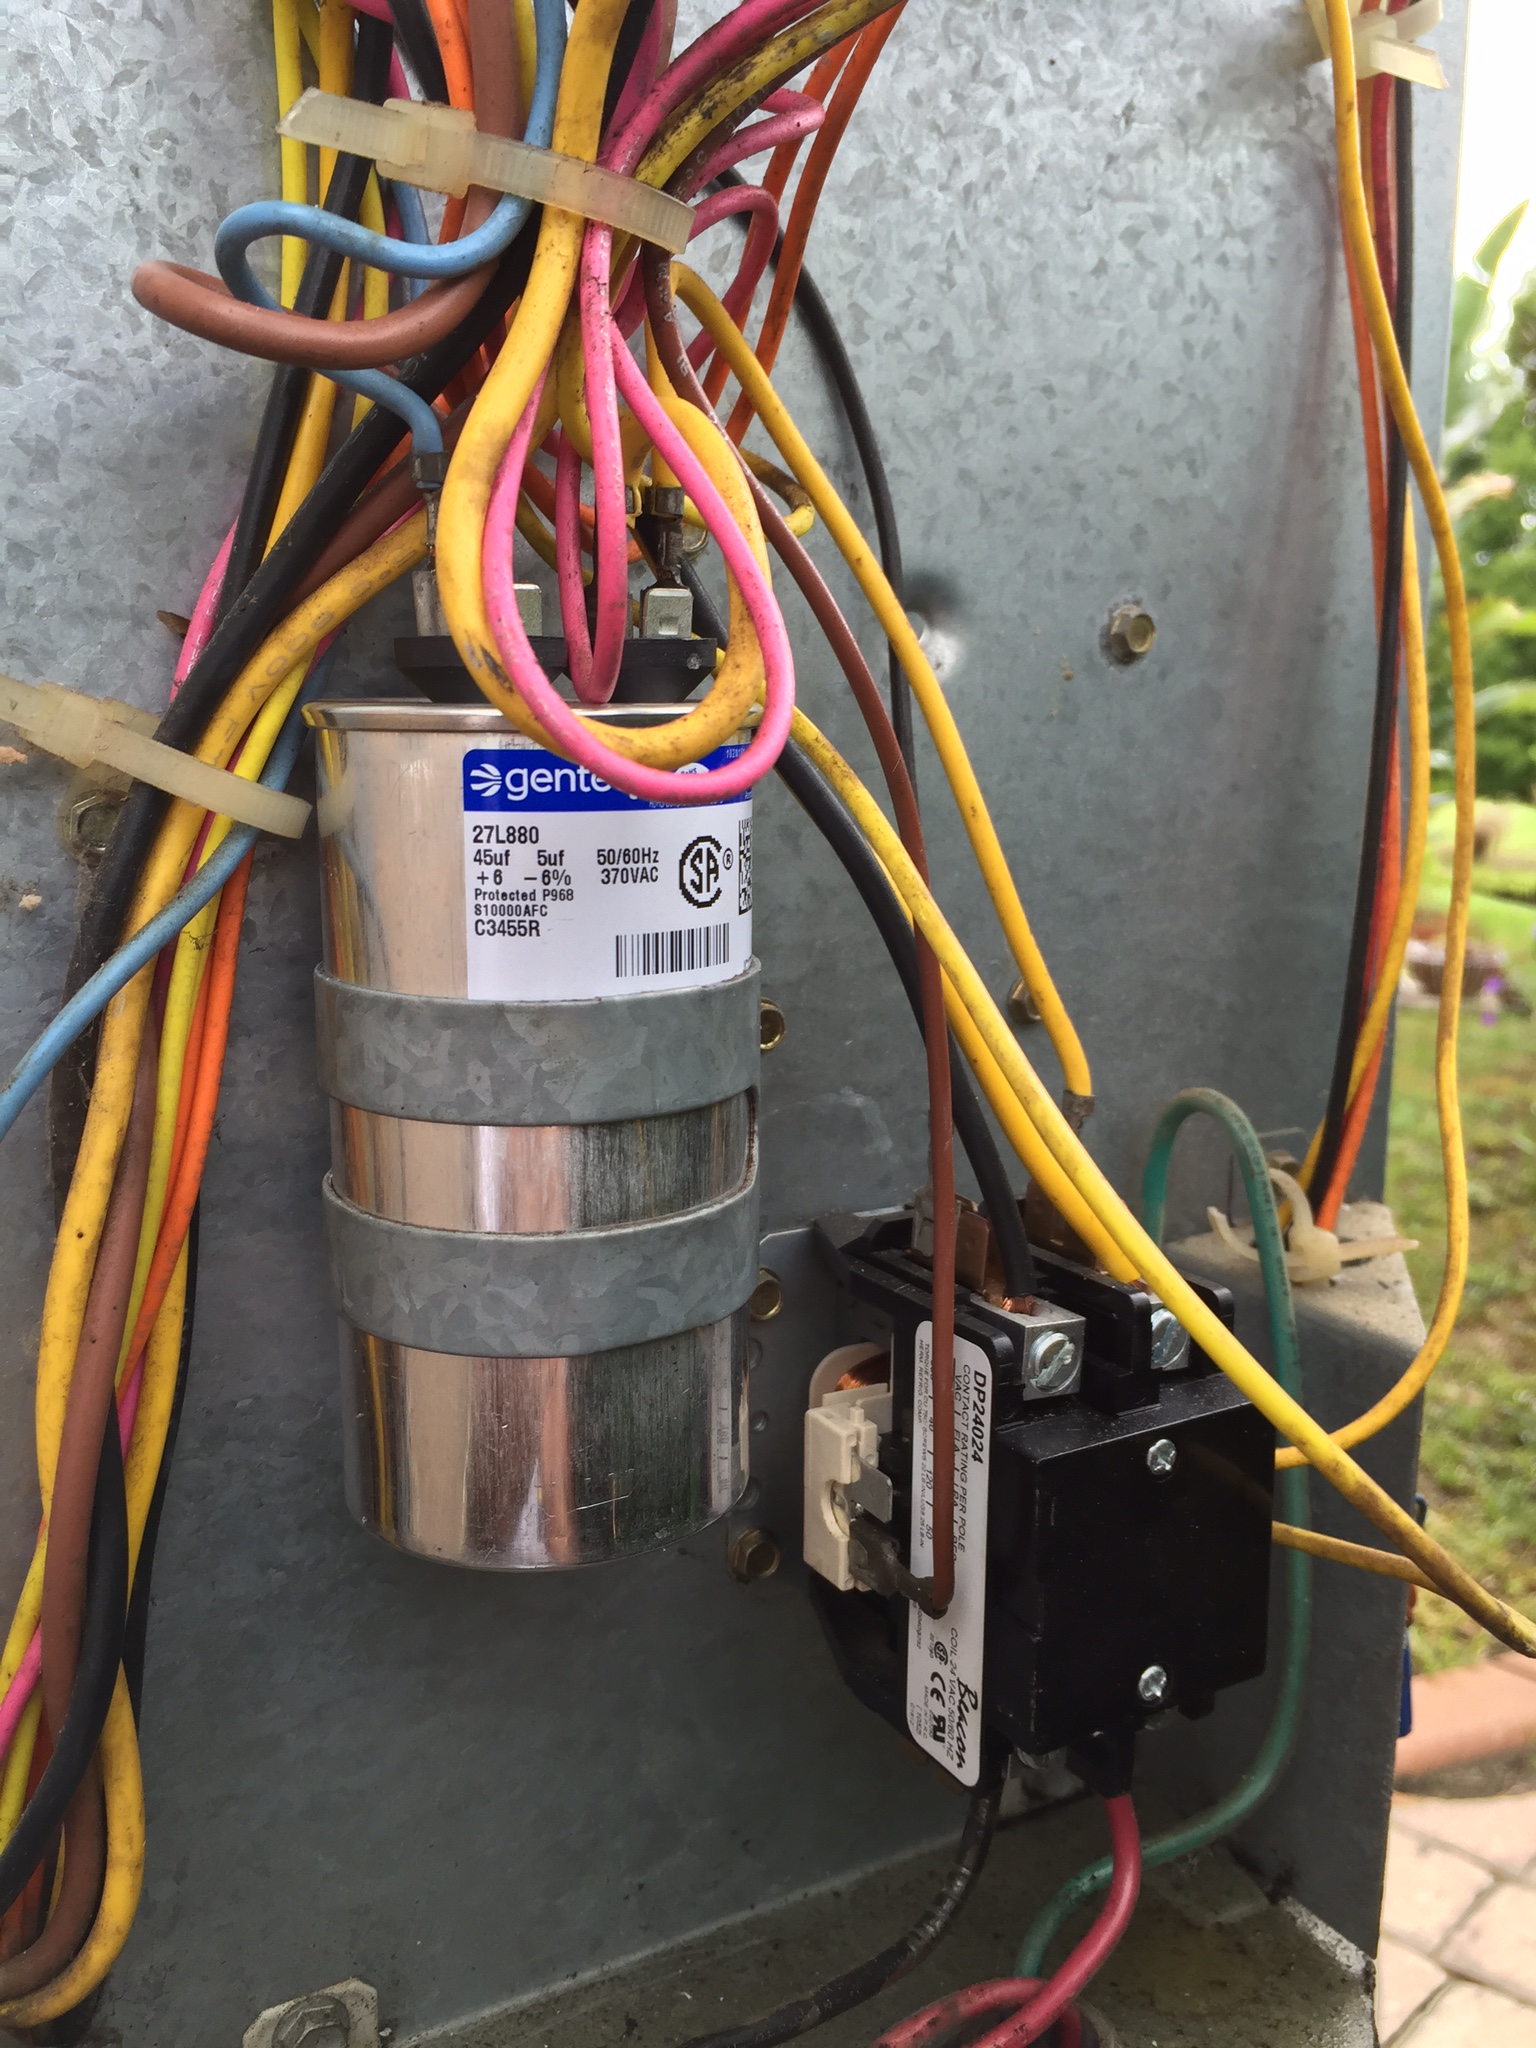
- Buy the Right Replacement Part. Take pictures of your current capacitor with your phone and use this picture to buy the equivalent capacitor on line. Capacitor are specified by voltage, most air conditioners and heat pumps have compressor and/or fan motors that require either 370VAC or 440VAC to start. Mine were 370 volts. Another measurement is called micro-farad, make sure the replacement capacitor has the same micro-farad ratings (shown as MFD or μF) as your old one. For dual capacitors, the capacitance is shown as “45/5” or “45+5” MFD, which means the compressor side is rated at 45 μF and the fan side is rated at 5 μF. Each of my capacitors were slightly different. Amazon had them both. See pictures.

2. Turn off the power. I do this two ways, at the temperature thermostats in the house I change the mode to “off”, I also pull the external circuit breaker for each unit. See picture.

3. Remove A/C side panel where the capacitor (and contactors) are located. Now, before touching the capacitors wires it’s important to ground the terminals first. Remember, capacitors charge electricity, just take any screwdriver and touch each of the top 3 connectors to each other and to the steel on the A/C unit itself. Your capacitor may not be charged, but I never take this chance.

4. Take the screws off the metal housing that holds the capacitor in place. This will allow you to carefully remove the wire clips to the terminals on the end of the capacitor. Mine were marked Fan, C (common) and Herm (hermetically sealed compressor). I took a picture with my camera to make sure I got the wiring straight.
5. Just plug the wires into the terminals on the new capacitor, reassemble the metal housing back on the A/C unit, put the panel back on, re-insert the circuit breaker and you are finished.
You just saved a bunch of money and the frustration of having you’re A/C unit fail at the worst time.
